
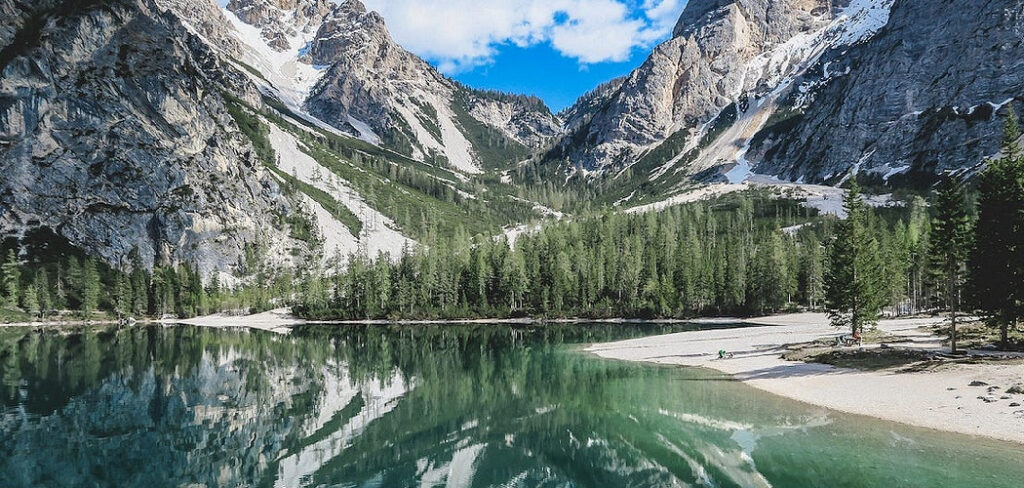
If you are wondering how to visit North Cascades National Park, you are in for an unforgettable alpine adventure. This stunning destination in Washington State is famous for its jagged peaks, deep valleys, and over 300 stunning glaciers.
Proper travel planning is essential here because the rugged terrain can be challenging for unprepared visitors. Planning saves you time, cuts down on unexpected costs, and helps you avoid getting lost in remote areas.
In this guide, you will learn everything from travel essentials and transportation options to budgeting tips. The best way to get around is by car, as public transit is extremely limited in this wild region. Just imagine cruising down the scenic North Cascades Highway with towering mountains on all sides.
Best Time to Visit & Seasonal Weather
The absolute best months to explore this park are from mid-July to late September. This short summer window is when the main roads are fully clear of snow, and most hiking trails are accessible.
During summer, temperatures are pleasant, usually hovering around the 70s, making it perfect for outdoor activities. Winter brings heavy snowfall and road closures, essentially shutting down the main highway through the park.
Peak season means larger crowds and higher costs, while the off-season offers solitude but heavily restricted access. Budget travelers and sightseers should aim for late September to catch beautiful fall foliage and thinner crowds.
Visa & Entry Requirements for Tourists
Since this park is located in the United States, international visitors will need to meet standard US entry requirements. Travelers from visa waiver countries can easily apply for an ESTA online before their journey.
If you are not from a visa-free country, you will need to secure a B2 tourist visa from a US embassy. Your passport must remain valid for at least six months beyond your planned period of stay.
Immigration officers may also ask to see a return ticket, proof of funds, and a confirmed hotel booking. Once approved, most tourist visas and ESTA approvals allow you to stay for up to 90 days or more.
Travel Requirements
When packing your travel essentials, always carry a valid government-issued ID, and your passport or visa if you are traveling internationally. There are no mandatory health forms or vaccinations required to enter Washington State.
However, purchasing comprehensive travel insurance is highly recommended given the remote nature of the park and the physical activities involved. You should also keep a digital and physical copy of your return ticket handy.
Make sure to have your proof of accommodation printed out, as cell service in the mountains is virtually nonexistent. Finally, be aware of standard airline rules regarding camping gear if you plan to fly with tents or hiking poles.
How to Get There
The most common arrival point for out-of-state visitors is Seattle-Tacoma International Airport (Sea-Tac). From Seattle, most travelers rent a car to drive the roughly two to three hours north to the park entrances.
You can take Interstate 5 North to State Route 20, which is the famous North Cascades Highway that cuts right through the park. Travel duration heavily depends on Seattle traffic, but expect a highly scenic and straightforward drive.
While there are some bus services to nearby towns like Mount Vernon, there is no public transit that takes you directly into the park itself. Renting a vehicle is truly the most practical way to connect your journey from the city to the wilderness.
6 Essential Steps to How to Visit North Cascades National Park
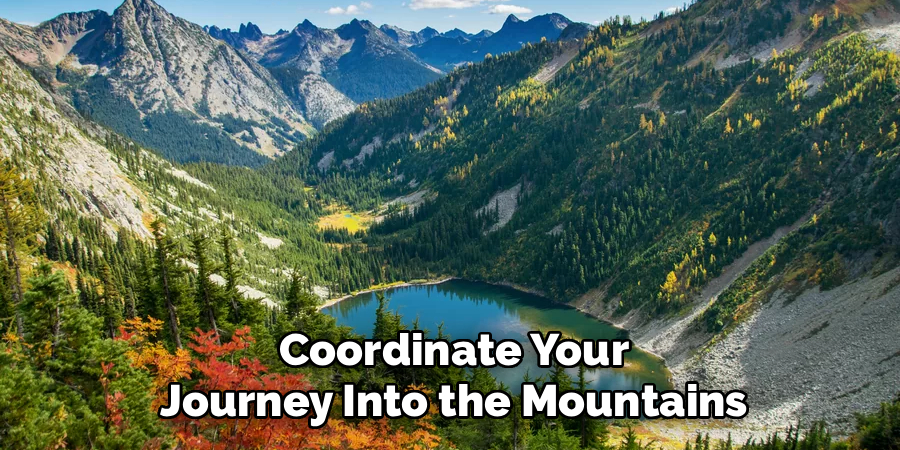
This section breaks down the main ways to coordinate your journey into the mountains. While there are a few different transport methods to reach the surrounding areas, driving remains the dominant choice.
Step 1: Fly into a Major Hub
Your trip begins by booking a flight into Seattle-Tacoma International Airport or Bellingham International Airport. Flying is the fastest way for out-of-state or international visitors to get close to the region.
Travel time depends on your origin, but domestic flights usually take anywhere from two to six hours. Flight costs range from moderate to high, depending on the season and how early you book.
This step is ideal for anyone traveling from far away who wants to maximize their vacation time. Make sure to review airline rules for baggage if you are bringing heavy hiking equipment.
Step 2: Rent a Private Vehicle
Once you land, renting a car at the airport is the most crucial step of your itinerary. A private vehicle provides the high comfort and ultimate flexibility required to explore this remote national park.
The drive from Seattle takes about three hours, offering a highly scenic and relaxing journey. Rental costs usually fall into the mid-range category, though SUVs might cost more during peak summer months.
Having your own car is best for families, photographers, and hikers who want to move at their own pace. Always ensure your rental agreement allows for driving on mountainous or unpaved secondary roads.
Step 3: Take a Train to a Gateway Town
If you prefer a more relaxed approach, you can take the Amtrak Cascades train from Seattle to Mount Vernon. This train ride is very comfortable, offering beautiful coastal views along the way.
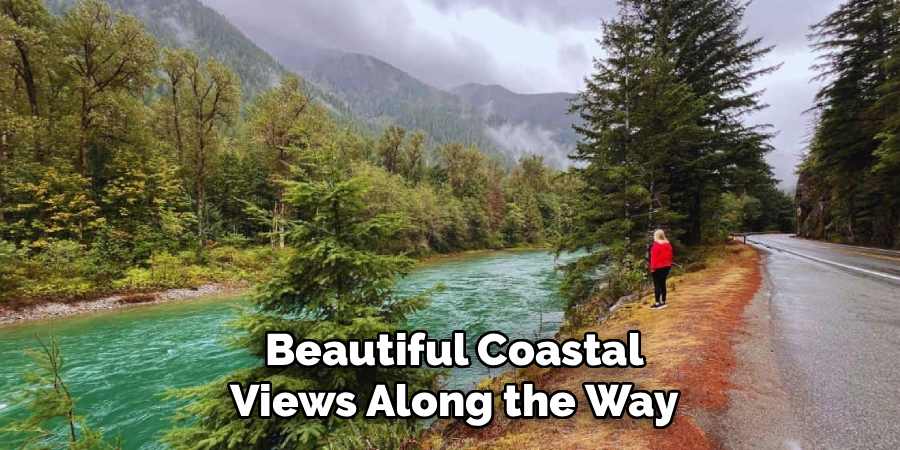
The journey takes about an hour and a half, operating multiple times a day. Tickets are very budget-friendly, making this a great option for slow travelers.
Keep in mind that Mount Vernon is just a gateway town, so you will still need further transport to reach the park. It is a peaceful alternative to dealing with city traffic right out of the airport.
Step 4: Use Regional Bus Services
Budget travelers can utilize regional bus services like Greyhound or local transit from Seattle to Mount Vernon or Bellingham. Buses are highly affordable and run daily, offering a low-cost way to get north.
The travel time is usually around two hours, depending on highway traffic and stops. While comfort is lower compared to a private car or train, it is perfectly adequate for short distances.
This option is strictly for those trying to save money before reaching the final leg of their journey. You will still need to arrange a shuttle, taxi, or car rental to get into the mountains.
Step 5: Join a Guided Tour
For those who want to avoid driving altogether, booking a guided day tour from Seattle is a fantastic option. Tour operators provide comfortable van or bus transportation directly to the best viewpoints in the park.
These tours typically last a full day, spanning 10 to 12 hours round-trip. The cost is generally high, but it includes the convenience of a knowledgeable guide and a pre-planned itinerary.
This is perfect for solo travelers or those who are short on time and prefer not to navigate mountain roads. It takes all the stress out of planning the logistics of your visit.
Step 6: Drive an RV or Campervan
Renting an RV or campervan combines your transportation and accommodation into one convenient package. This is incredibly popular for national park visitors who want to sleep right under the stars.
Driving an RV means you can take your time along State Route 20, stopping at various campgrounds. The overall cost can be high for the rental and gas, but you save significantly on hotels.
This high-comfort option is best for adventurous families and couples looking for a classic road trip experience. Just remember to book your campsites months in advance, as they fill up quickly in the summer.
Pros and Cons of Each Travel Option
Every mode of transportation for this trip has distinct advantages and disadvantages. Renting a car or RV offers total freedom, comfort, and the ability to stop at any viewpoint you choose.
However, driving yourself means dealing with expensive rental costs, fluctuating gas prices, and navigating steep mountain passes. Taking a train or bus to a gateway town is highly affordable and relaxing, saving you from city traffic.
The major downside to public transit is that it completely stops before the park boundaries, leaving you stranded without a secondary plan. Guided tours remove all the stress of planning, but they lack flexibility and are usually quite expensive.
Best Way to Travel
The absolute best way to travel to and around this destination is by renting a private car. It perfectly balances time, cost, and the sheer necessity of having a vehicle in a remote wilderness area.
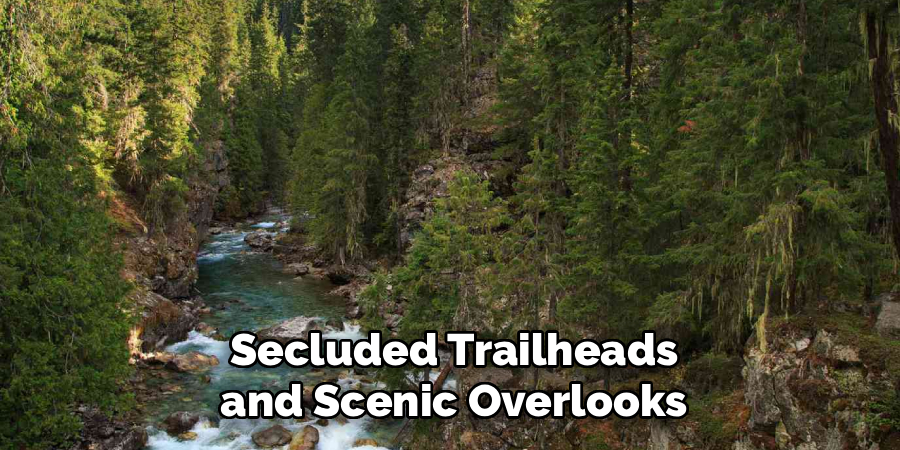
Having your own car allows you to access secluded trailheads and scenic overlooks that tours and buses simply cannot reach. It offers incredible reliability, meaning you can leave early in the morning to beat the summer crowds.
While an RV is great, a standard car or SUV is easier to maneuver on winding mountain roads. For the average traveler, a standard rental car is the most practical and comfortable choice.
Top Attractions & Must-Visit Places
The crown jewel of the park is Diablo Lake, famous for its mesmerizing, vibrant turquoise waters. You can easily pull over at the Diablo Lake Vista Point for breathtaking photos without any hiking required.
Another must-see spot is Washington Pass Overlook, which offers towering views of Liberty Bell Mountain. If you love hiking, the Cascade Pass Trail is arguably the most popular and scenic route for first-time visitors.
Ross Lake is perfect for kayaking and fishing, though it requires a bit more effort to access. Most of these viewpoints and trailheads are completely free to enter, which is a rare treat for a national park.
Best Areas to Stay / Accommodation
Since there are no luxury hotels inside the park, many visitors choose to stay in nearby gateway towns like Marblemount or Winthrop. Marblemount is on the west side and offers great budget to mid-range motels and cozy cabins.
Winthrop, located on the east side, has a fun Western theme and provides slightly more upscale lodges and resorts. Both towns offer great proximity to the park entrances and essential amenities like gas and groceries.
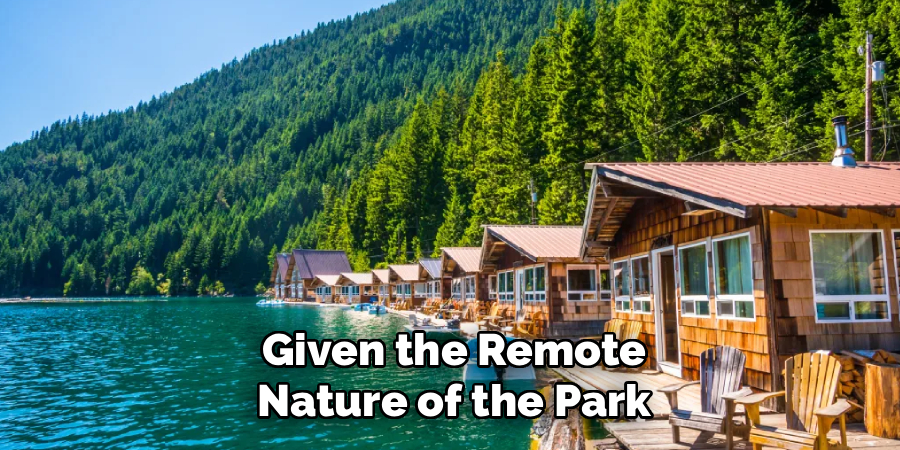
If you want to stay inside the park boundaries, you will need to book a campsite or secure a room at the remote Ross Lake Resort. First-time visitors should book months in advance, especially if traveling during the busy summer season.
Food & Local Cuisine
While you will not find five-star dining in the wilderness, the surrounding communities offer hearty, comforting local cuisine. Winthrop is known for fantastic local bakeries, craft breweries, and classic American pub food.
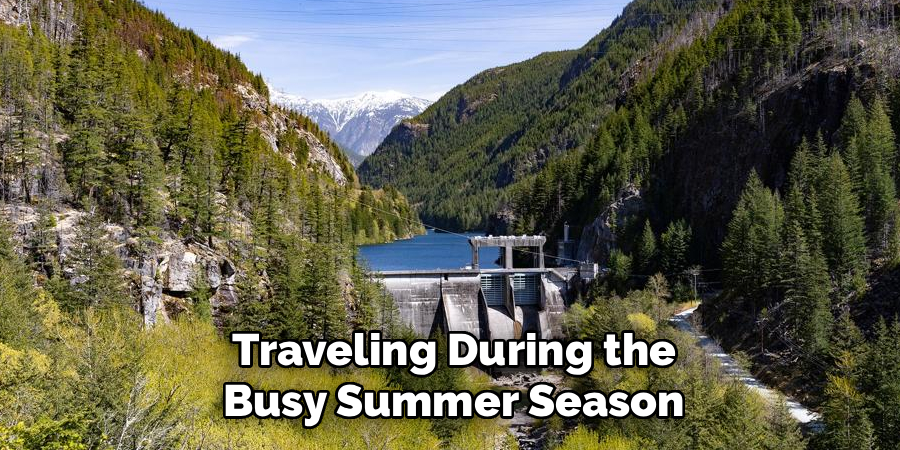
On the western side, Marblemount offers casual diners where you can grab a warm burger or a slice of homemade pie after a long hike. Meals in these gateway towns generally fall into the budget to mid-range price category.
Since food options inside the park are virtually zero, packing your own picnic supplies from a local market is a must. Vegetarians and vegans will find basic options in town, but bringing your own snacks is always the safest bet.
Travel Cost & Time
Visiting this region can be quite affordable, especially since the park itself does not charge an entrance fee. A budget traveler camping and cooking their own meals can expect to spend around $50 to $75 a day.
Mid-range travelers staying in local motels and eating at diners will likely spend between $150 and $250 daily. The biggest expense will always be your rental car and the gas required to drive the long mountain routes.
Travel time from Seattle is about three hours, but expect delays during summer weekends when everyone is heading to the mountains. Traveling slightly off-peak, like in September, can help you avoid both high hotel prices and frustrating traffic jams.
Estimated Budget & Money-Saving Tips
For a standard three-day trip, a mid-range traveler should budget roughly $600 to $800, covering car rental, gas, lodging, and food. You can easily cut these costs in half by choosing to camp instead of booking a hotel.
One of the best money-saving tips is to buy all your groceries and travel essentials in a major city before heading into the mountains. Prices at small convenience stores near the park are heavily marked up.
Booking your rental car and flights several months in advance will also secure you the best deals. Since there is no entry fee for the park, your daily entertainment budget is essentially zero.
Currency & Money Management
The local currency is the US Dollar (USD), and you will find that almost all businesses accept major credit and debit cards. Contactless payments are standard at gas stations, restaurants, and grocery stores in the gateway towns.
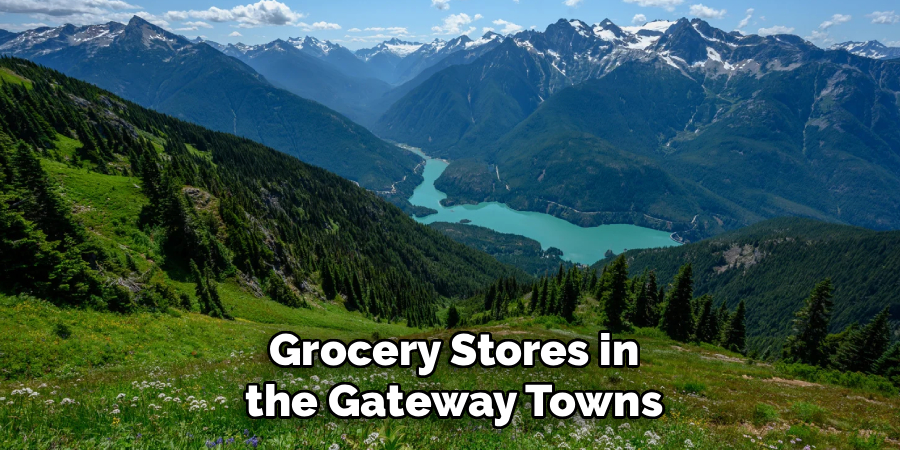
However, it is highly recommended to carry some small cash for unexpected situations or specific campground fees. ATMs are readily available in towns like Mount Vernon, Marblemount, and Winthrop, but there are none inside the park.
To avoid extra fees, use a travel credit card that waives foreign transaction charges if you are visiting from abroad. Always keep a backup credit card hidden securely in your luggage just in case your primary wallet is lost.
Connectivity: SIM Cards & Essential Travel Apps
International visitors can easily purchase a prepaid SIM card at the Seattle airport or a local electronics store. Major telecom providers like Verizon and AT&T offer the best coverage, though AT&T tends to perform slightly better in rural Washington.
For maximum convenience, download an eSIM before you even arrive in the country so you have data immediately. Keep in mind that cell service completely drops off once you enter the national park boundaries.
Because of this, downloading offline maps via Google Maps or the AllTrails app is absolutely critical for your safety. You should also take screenshots of your itinerary and hotel confirmations before leaving the city.
Language & Local Etiquette
English is the primary language spoken throughout Washington State and the national park system. Locals and park rangers are generally very friendly, helpful, and used to interacting with tourists.
A simple “hello” and “thank you” go a long way when speaking with staff at visitor centers or local diners. When out on the trails, it is common hiking etiquette to yield to hikers going uphill and to greet people as you pass.
Always practice “Leave No Trace” principles by packing out all your trash and staying on marked paths. Tipping around 15% to 20% at restaurants in the gateway towns is the standard cultural expectation.
Travel Tips
If you are finalizing your itinerary for how to visit North Cascades National Park, the best advice is to start your days early. Arriving at popular trailheads before 8:00 AM ensures you get a parking spot and avoid the midday crowds.
Always check the official National Park Service website for live updates on road closures and trail conditions before you leave your hotel. Pack your vehicle smartly, keeping important documents, extra water, and warm layers easily accessible.
Even in the middle of summer, mountain weather can change rapidly, so having a rain jacket is crucial. Finally, trust your offline maps and printed directions rather than relying on a GPS signal that will inevitably drop.
Travel Safety, Common Scams & Mistakes to Avoid
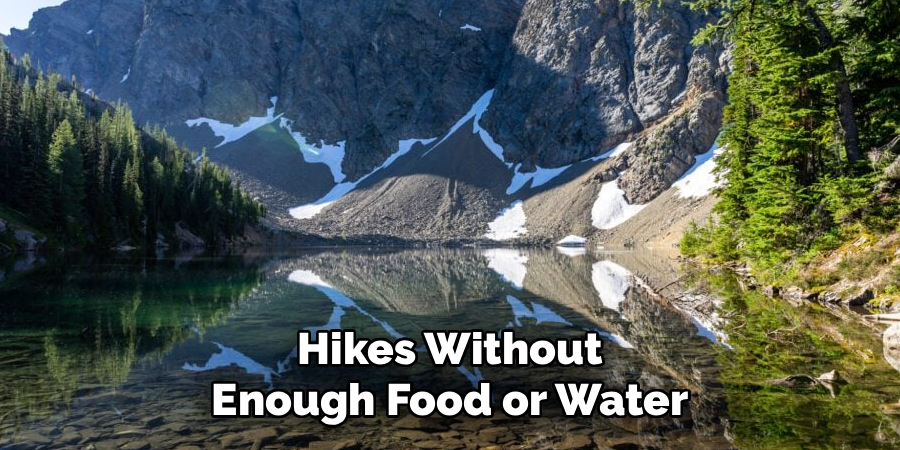
Visiting a remote wilderness area is generally very safe from a crime perspective, but nature itself demands respect. The biggest mistake tourists make is underestimating the terrain and setting out on hikes without enough food or water.
There are very few scams to worry about here, though you should always ensure you are renting vehicles from reputable agencies. Keep your valuables locked out of sight in your car trunk when parked at secluded trailheads.
Never leave food visible inside your car, as bears and other wildlife may attempt to break in. Stay alert and simply use common sense, focusing more on environmental awareness than urban safety concerns.
Safety & Health Precautions
Hydration is incredibly important when exploring at high altitudes, so drink water constantly throughout the day. Only drink from streams or rivers if you have a reliable water filter or purification tablets.
Since emergency services are far away, carrying a basic first-aid kit with bandages, antiseptics, and personal medications is highly recommended. Wildlife encounters are possible, so educate yourself on bear safety and always keep a respectful distance from any animals.
Pacing yourself on steep trails will prevent exhaustion and altitude sickness, allowing you to enjoy the scenery safely. Keep emergency contacts written down on paper in your backpack, just in case of an accident.
Frequently Asked Questions
Do I need a permit to visit?
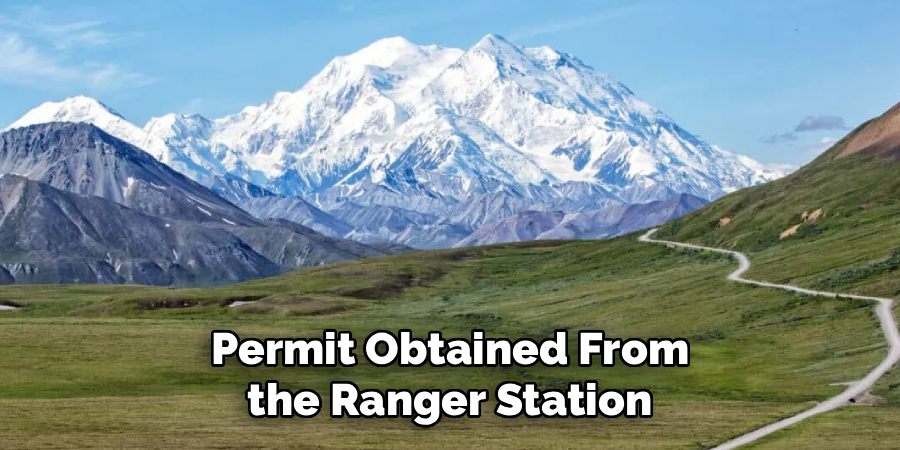
No, you do not need a permit or an entrance fee for standard day-use sightseeing. However, overnight backcountry camping requires a specific wilderness permit obtained from the ranger station.
How many days do I need for How to Visit North Cascades National Park?
Most visitors find that two to three days is the perfect amount of time to see the highlights. This allows you to drive the main highway, stop at major viewpoints, and complete a few day hikes.
Is the park open year-round?
The park itself remains open, but the main highway (State Route 20) closes completely during the winter due to avalanche danger. It is generally only accessible to cars from May through November.
Conclusion
Now that you know exactly how to visit North Cascades National Park, you can look forward to a truly spectacular outdoor experience. With towering peaks and turquoise lakes waiting for you, proper planning guarantees a smooth and safe adventure.
Remember to respect the remote environment, pack your travel essentials, and embrace the lack of cell service. Enjoy the quiet beauty of the mountains, and always leave the trails just as pristine as you found them.

About
Ethan Brooks is a dedicated travel writer and tourism specialist with over a decade of experience exploring more than 150 countries. His professional focus centers on city routes and budget travel, where he combines real-world travel insights with efficient planning strategies.
Ethan is known for creating smart, well-structured travel systems that are practical, cost-effective, and easy to follow. As a core author at thetraveliy.com, he helps both first-time travelers and experienced explorers plan smooth, confident journeys.
Education
The University of Queensland (Australia) Bachelor’s Degree in Tourism Management
-
Focus: Global tourism systems, destination planning, and travel operations.
-
Specialization: Gained practical knowledge in travel logistics, itinerary development, and tourism industry structures.
Publications and Impact
At thetraveliy.com, Ethan Brooks publishes clear, structured, and experience-driven content focused on:
-
Transportation Logistics: Navigating complex transit systems with ease.
-
Itinerary Planning: Creating time-efficient schedules for any destination.
-
Budget-Friendly Solutions: Maximizing value without sacrificing the experience.
Ethan’s work simplifies complex travel decisions, making it easier for readers to plan efficient and affordable trips. By blending practical advice with real-world experience, he helps travelers create well-organized journeys while saving both time and money.